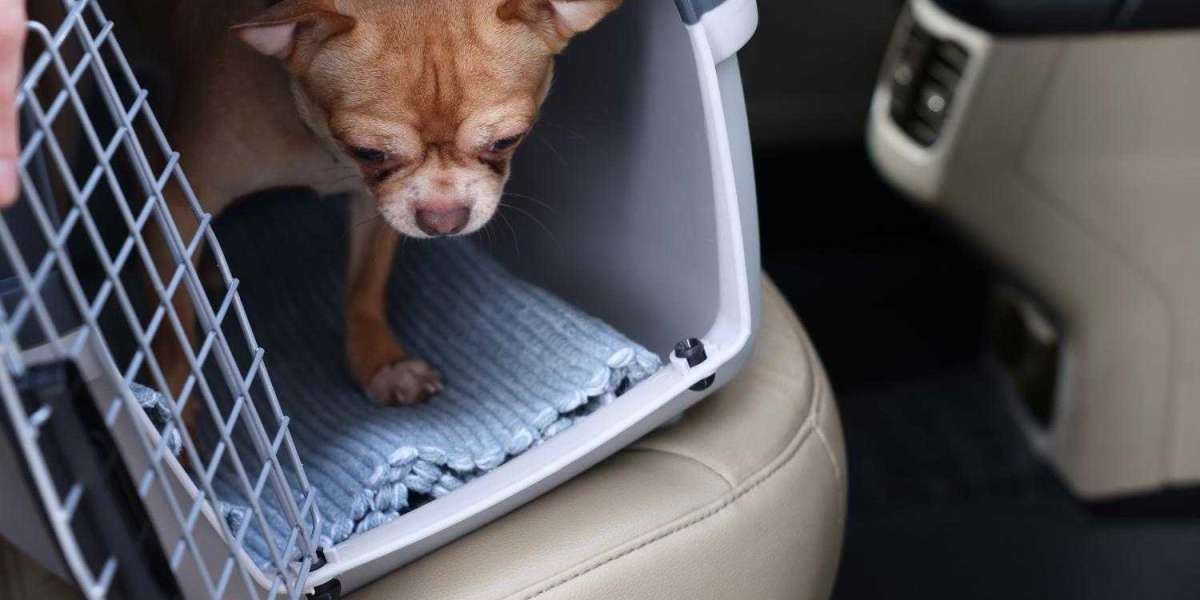
Building a Dogbox can be an exciting project for pet owners who want to provide their furry friends with a safe and comfortable space for travel. Whether you're embarking on a road trip or just need a secure crate for transportation, a well-designed Dogbox can meet your needs perfectly. In this guide, we'll walk you through the steps to create the ultimate DIY Dogbox.
Materials Needed:
- Plywood or durable wood panels
- Saw
- Measuring tape
- Screws or nails
- Hinges
- Latches or locks
- Insulation (optional)
- Paint or stain
- Ventilation holes or fan (optional)
- Bedding or cushion
Step 1: Design Planning Before you start building, consider the size of your dog and the intended use of the Dogbox. Measure your dog's height, length, and width to ensure the box will be spacious enough for comfortable movement. Sketch out a design that includes proper ventilation and secure closures.
Step 2: Cutting the Panels Using the measurements from your design plan, cut the plywood or wood panels to create the sides, top, bottom, and door of the Dogbox. Use a saw to make precise cuts, ensuring straight edges for a professional finish.
Step 3: Assembly Assemble the panels using screws or nails to create the basic structure of the Dogbox. Attach hinges to one side for the door and add latches or locks for security. If desired, install insulation to regulate temperature inside the box.
Step 4: Ventilation and Comfort Drill ventilation holes or install a small fan to ensure adequate airflow inside the Dogbox. Consider adding a comfortable bedding or cushion for your dog to relax during travel.
Step 5: Finishing Touches Sand down any rough edges and apply paint or stain to the exterior of the Dogbox for a polished look. Choose a pet-safe paint or stain that is non-toxic and durable.
Step 6: Safety Check Before using the Dogbox, conduct a thorough safety check to ensure all screws are tight, hinges are secure, and there are no sharp edges that could harm your pet.
Step 7: Test Run Introduce your dog to the Dogbox gradually, allowing them to explore and become comfortable with it before using it for travel. Practice loading and unloading your dog to ensure they feel at ease inside the box.
Conclusion: By following these steps, you can create a custom DIY Dogbox that meets your pet's needs while providing peace of mind during travel. Remember to prioritize safety and comfort throughout the building process, and enjoy the adventure with your furry companion!


