Welcome, homeowners! If your asphalt driveway is starting to resemble the surface of the moon, fear not. We've got your back with this comprehensive guide on how to repair your asphalt driveway like a pro.
Save your money and channel your inner handyman (or handywoman) as we take you through the essential steps to restore your worn-out driveway to its former glory. So, dust off your work boots and grab your tools; let's dive into the world of asphalt repair!
1. Assess the Damage:
Before you start any repairs, it's important to assess the extent of the damage. Inspect your driveway for cracks, potholes, or severe signs of wear. This initial evaluation will help you determine the appropriate repairs needed and the necessary materials.
2. Clean Your Driveway:
It's time to get your driveway squeaky clean! Remove any loose debris, such as leaves, twigs, or loose asphalt pieces. To achieve a spotless surface, consider power washing or using a stiff-bristle broom to remove any embedded dirt and grime. Ensuring a clean surface will allow the repair materials to bond effectively.
3. Fixing Cracks:
When it comes to cracks in your asphalt driveway, addressing them promptly is crucial. Begin by cleaning out the cracks using a stiff wire brush or a high-pressure air hose. Once cleaned, fill the cracks with a quality asphalt crack filler, making sure to apply an excess amount to compensate for future settling.
4. Tackling Potholes:
Potholes can be a real headache, but they too can be conquered. Start by marking the boundaries of the pothole using spray paint or chalk. Then, remove any loose debris or vegetation from the pothole, ensuring a clean work area. Fill the pothole with cold patch asphalt, making sure to tamp it down properly for a compact finish. For larger potholes, layer the cold patch material until the hole is levelled.
5. Seal It Up:
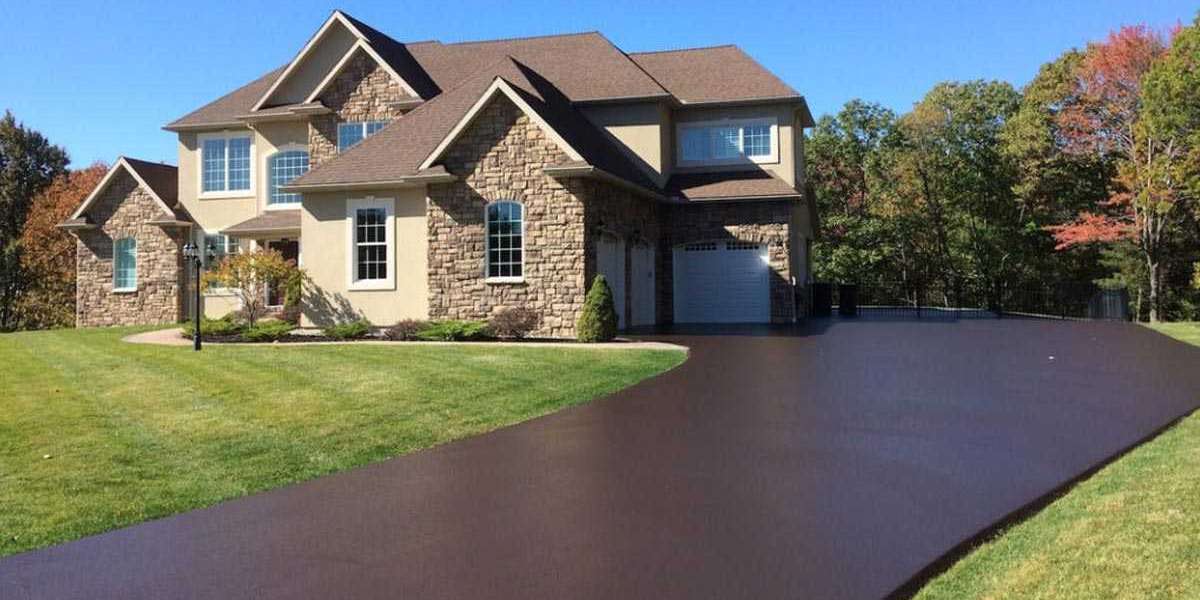
Now that you've addressed the cracks and potholes, sealing your repaired driveway will provide added protection and longevity. Apply a high-quality asphalt sealer to the entire surface using a squeegee or roller. This sealant will act as a shield against harsh weather conditions and potential future damage.
6. Regular Maintenance:
To prevent future driveway headaches, regular maintenance is key. Avoid heavy machinery or sharp objects on your driveway, as they can cause unnecessary damage. Additionally, consider sealing your driveway every few years to maintain its integrity and appearance.
Conclusion:
Congratulations, you've successfully repaired your asphalt driveway! By following these expert tips, you've saved yourself both time and money while ensuring a smooth and pristine surface for years to come.


