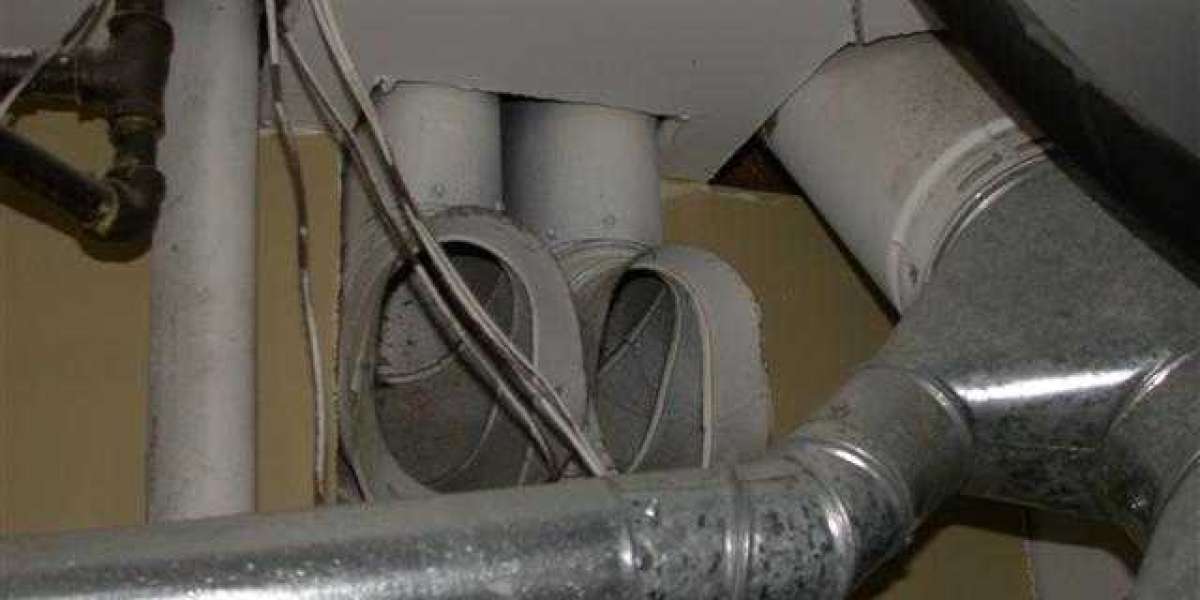
The efficient functioning of HVAC systems is crucial for maintaining comfortable indoor environments. However, over time, these ducts may develop holes or leaks that can compromise performance, energy efficiency, and air quality. Rather than panicking over such situations, homeowners can take matters into their own hands and learn how to repair these pesky holes conveniently.
In this article, we will guide you through the process of repairing HVAC ducts, ensuring your system runs smoothly and efficiently once again.
1. Diagnosing the Problem:
Understanding the severity and location of the hole is vital for an effective repair. Start by inspecting your ductwork, focusing on areas that are visibly damaged or where you suspect air leakage. Additionally, any signs of debris, loose connections, or mold growth should also be noted as they may contribute to the problem.
2. Gathering the Tools:
Before you begin repairing the ducts, gather your tools and materials to make the job easier. You will need gloves, protective eyewear, a flashlight, a measuring tape or ruler, HVAC aluminum foil tape or mastic sealant, and a putty knife.
3. Sealing Small Holes:
For smaller holes measuring 1/8 inch or less in diameter, choose an appropriate sealing method. HVAC aluminum foil tape is an excellent option for quick, temporary fixes. Clean the surface around the hole, removing any dust or loose particles, and cut a piece of tape large enough to cover the hole with at least an inch of overlap on all sides. Press firmly to ensure a secure bond.
4. Tackling Larger Holes:
When dealing with larger holes, mastic sealant can provide a more permanent and durable solution. Clean the area around the hole thoroughly, removing any dirt, grease, or loose insulation. Apply the sealant generously over the damaged area and extend it beyond the hole's edges. Use a putty knife to smooth out the applied sealant, ensuring proper adhesion and preventing air leaks.
5. Reinforcing Weak Joints and Connections:
In some cases, it may not be the holes themselves, but weak joints and connections that are causing air leakage. Inspect all connection points and joints in your ductwork and apply mastic sealant or aluminum foil tape as necessary. Focus particularly on loose or disconnected sections, sealing them securely to eliminate leaks.
6. Testing the Repairs:
Once the repairs are complete, it's essential to test the effectiveness of your handiwork. Turn on your HVAC system and feel for any air leaking near the repaired areas. Run your hand along the patched sections, paying attention to temperature consistency and airflow. Observe the system for a few days to ensure there are no recurring issues.
Conclusion:
Repairing holes in HVAC ductwork is a task that homeowners can undertake themselves, saving both time and money. By following these simple steps, you can patch up any damage efficiently, restoring the performance and energy efficiency of your HVAC system.
Remember, regular maintenance and addressing any ductwork issues promptly will not only enhance the longevity of your system but also improve indoor air quality for a healthier living space. So, gear up, grab your tools, and set out on your mission to keep your HVAC woes at